Smartphones don’t have fantastic built-in microphones. But even before you start downloading apps and buying products, you can take a few steps to maximize the quality of the incoming audio.
But if you have a reasonably modern smartphone, you have all you need to record great audio without an external microphone.
If you’re just starting out, you may not want to spend hundreds of dollars on recording equipment to do this. You may be wondering, “How do I record myself singing — and still sound good — with only tools I already have?”
A few changes can make a huge difference to your phone’s ability to capture high-quality sound. Just tweak some settings, download a couple of well-chosen add-ons. Here are the apps and gadgets you’ll need.
These topics will be covered in this tutorial.
- Simple Tricks to Record Great Audio with Your Phone
- Best Apps for recording singing with your smartphone
- Settings to improve the recording quality
- Multitrack recording on your Android: BandLab
- Multitrack recording on your iPhone: Garageband
- Microphones
- Next Steps – sound card and DAW
Simple tricks to record great audio with your phone
Tip #1. Record the vocals separately from the music
When you sing to recorded music it’s important that the vocals are recorded without the background music. Otherwise it’s much harder to do mixing afterword’s for the guy doing final mixing and mastering. Use a good pair of headphones when listening to the music. Either you playback the music on an other device or you use an app with multi track capability. If you want to contribute with both clean vocals and a vocal mix you will have to record twice or use a multitrack app. (See below)
Tip #2. Record several takes (2-5)
When someone is mixing vocals they often use several takes in mixing process. One reason is to use the best pieces from every take and compile it to a Frankenstein’s monster take. This is called “comping”. An other reason is that other takes can be used to create layers, width and harmonies. Often they can’t be heard in the final mix. They’re just there. When doing several takes one technic is to record shorter phrases, like one sentence, and do 5 takes of each. All DAW:s have a feature to loop one part of the song and record several times. (See below how to record wit a DAW.) On most smartphone apps though this is not possible.
Tip #3. Record to a fix bpm
If you are not singing to recorded music, it’s good to sing in a fixed beat (bpm) called a “click”. Many apps have these features. Mixing will be much easier if the beat is fixed. But it’s not absolutely necessary and many songs do not follow a fixed bpm. See Multi track recording below for recording with a click.
Tip #4. How to hold the Smartphone
First and foremost, know where your phone’s mics are located. You’ll usually find them on the bottom of the handset, where you speak, and by the cameras. Next, make sure that no cases, fingers, or other paraphernalia are obstructing these inputs. Once they’re clear, remember to point them towards you.
Keep the phone about 4 inches from your mouth at all times. Holding it in your hand while you record often creates shuffling sounds. Ideally, mount the phone on a box or pile of books at mouth-level. Set your smartphone on a soft, vibration-free surface so it won’t rattle.
If you do have to hold it, make sure it always remains the same distance from your mouth and avoid moving your hand while you’re singing. Also, ensure that your hand is not covering the microphone at any point.
Avoid singing too loudly into the microphone – it causes distortion. It’s far easier to fix quiet audio than distorted audio. Take a step back while singing loudly.
Try not to sing directly into the microphone, but at a slight angle. This helps alleviate pops and plosives when saying words with “p” or “b”. All singing microphones are equipped with a “pop killer”. A small net in front of the mic to avoid pops.
Tip #5. Use Headphones without mic
To be able to use headphones and still use the built-in microphone you should use headphones without a microphone. Otherwise the phone will automatically choose the headphone mic which often has lower quality then the built-in mic.
Tip #6. Positioning if filming
One of the limitations of using your phone is that the microphone and camera are attached to each other. Normally the microphone would be right in front of the singer, and the camera a ways back. Finding the best positioning for this setup is a bit of a balancing act. You want to be able to see as much of your body as possible, while also keeping the microphone close enough to record at a good volume.
If you’re having trouble getting a good balance, you may want to record yourself singing the song twice: once to watch your body movements and mannerism, and another with the camera much closer to get a good recording of your voice.
Tip #7. Simple Room Acoustics
Acoustics are the properties or qualities of a room that determine how sound is transmitted in it, and it is literally a science.
Some simple rules though; Use rooms with a lot of soft materials like furniture, cloth, pillows and curtains like a bedroom or a wardrobe. Avoid rooms like bathrooms or kitchens with flat, square, bare walls. This causes the sound waves to bounce all over the place and mess with each other.
You can minimize reverberation by facing the curtains or wardrobe. Clap your hands as a test. The best recording environments sound dead, and the worst ones (tiled bathrooms or small spaces) echo. If the room still sounds echoey, throw some pillows against the wall and hang up some blankets. They make great cheap acoustic panels. One method involves setting up a blanket between two chairs, to make a very handy DIY vocal booth. It might look silly, but it works very well!
Avoid recording in a room with any background noise or sounds. Microphones pick up sounds indiscriminately, and what you think sounds quiet might be distractingly loud to the listener. Eliminate all the background noise you possibly can. Keep kids and pets out, close doors and windows, turn off the TV and unrelated music, wait until the construction crew outside your window stops jackhammering.
Tip #8. Use Airplane Mode!
Finally, before you start recording on your smartphone, mute the device or put it in airplane mode. You don’t want to interrupt your own audio with the ping of a new message or the rattling vibrations of an incoming phone call.
Avoid these embarrassing audio gaffes by always setting your phone to Airplane Mode (which silences its cellular, Bluetooth, and WiFi connections) and muting its volume when on location, so that you don’t ruin an otherwise perfect take. The screenshot below is from iOS—but most all modern smartphones have this feature, so make sure you know where it is and how to use it.
Do a test recording
Take a test recording if at all possible—then listen to it carefully to find any other issues you may encounter before getting started. Most recordning apps display the wave form of the recording which should look “nice”. Never 100% but not too low either. If the waves form is over 100 % the recording is distorted which cannot be fixed in post production. A too low level can be fixed if its not any background noise in the recording. Then that noise will also be louder when the levels are raised.
Listen to your tracks before you finish
Us a good pair of headphones to listen to your tracks carefully. Smartphone speakers are no substitute.
Best Apps For Recording Singing With Your Smartphone
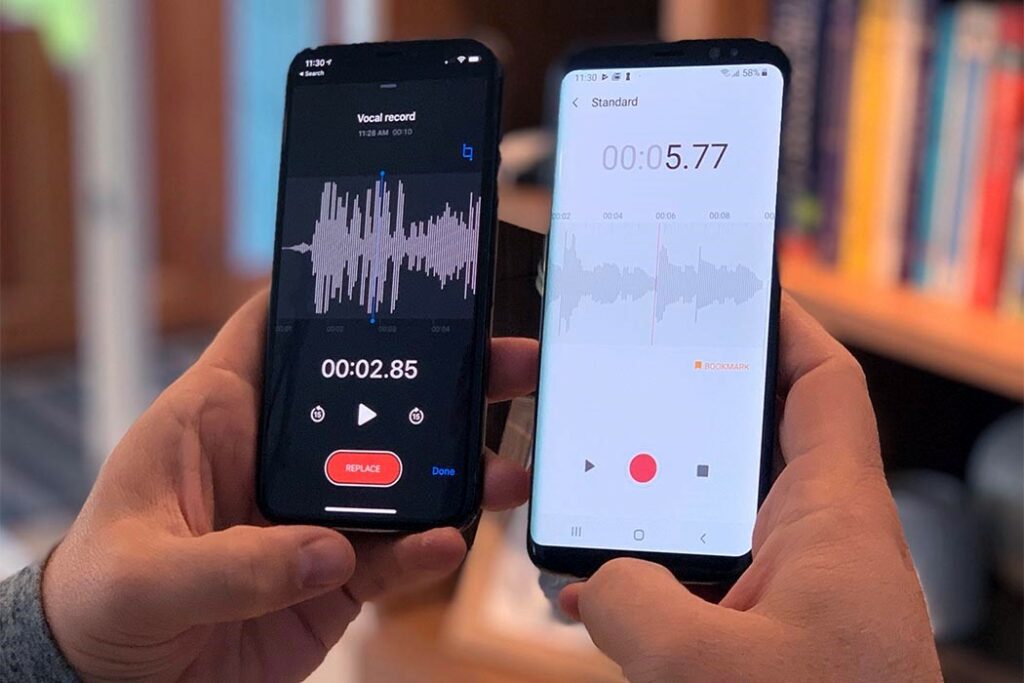
You can use the camera app to record singing, but a specific sound app is better since you can adjust the settings to your conditions. Given the hardware limitations of your phone’s mic, a specialized recording program can only do so much. That’s why, for video footage, your phone’s default camera app will capture sound as well as any other filming app. However, some audio-only apps do offer helpful options and settings that you can tweak to maximize sound quality.
on Apple iOS: Voice Memos
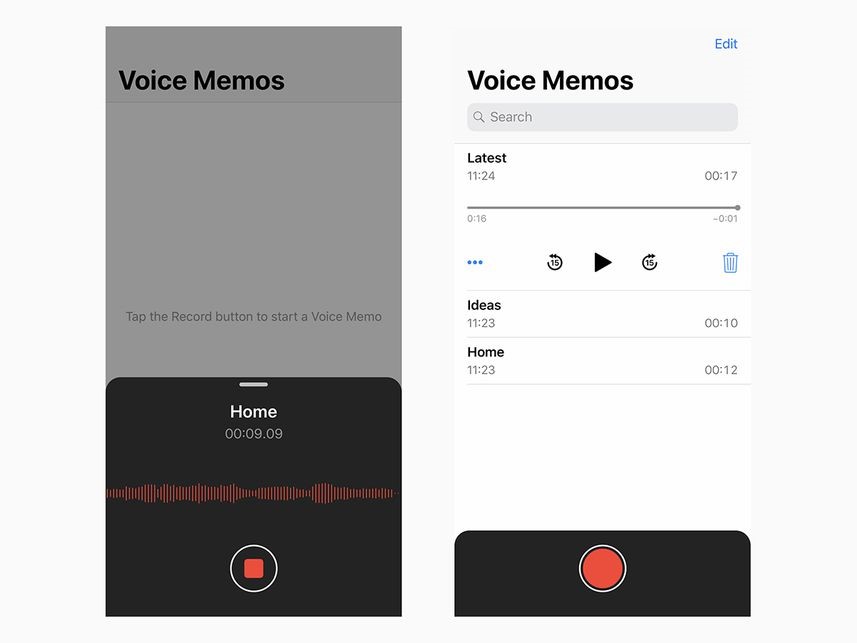
On iOS, the built-in Voice Memo app can capture perfectly fine audio, and you can improve it even further—just not within the app itself. Instead, head to Settings > Voice Memos > Audio Quality and change the quality to Lossless.
Apple Voice Memos – Apple iOS devices ship with Voice Memos pre-installed. It’s possible to delete the app, so if you’re missing the app, search for it on the App Store. Apple’s app is straight forward and works with no issues. No need to buy another app or put up with ads.
on Android: Samsung Voice Recorder
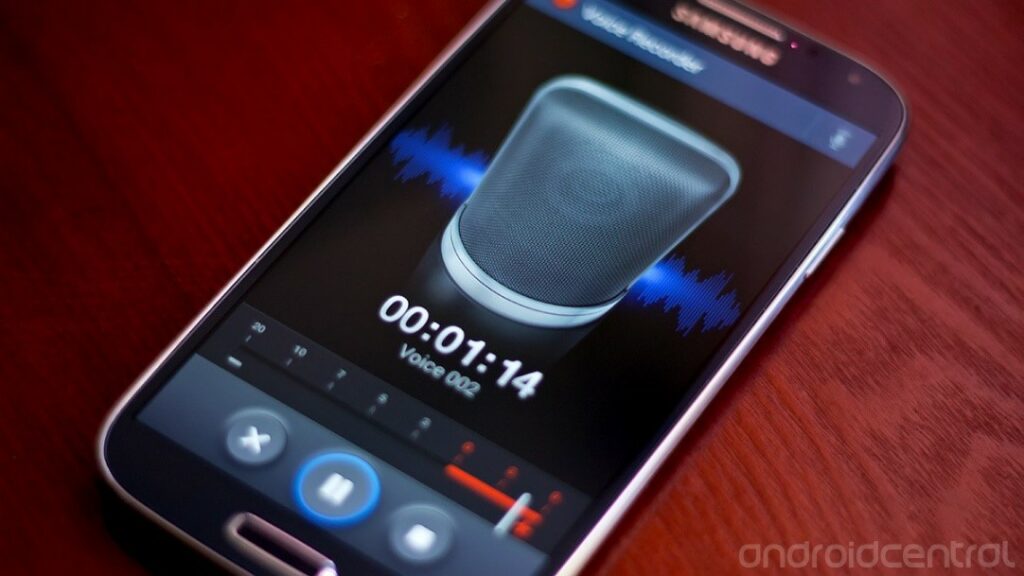
The best thing about Samsung Voice Recorder for Android: simply no ads. It’s simple to use. It’s actually very similar to the built-in voice recorder app on iOS. There are many other good voice recorder apps on Android, but almost all of them contain ads unless you pay for a subscription or one-time fee. Why bother? Start simple and cheap.
It shows a waveform view which is very helpful for recording vocals. You can also change the recording quality settings, which isn’t offered on all recorders.
Settings to improve the recording quality
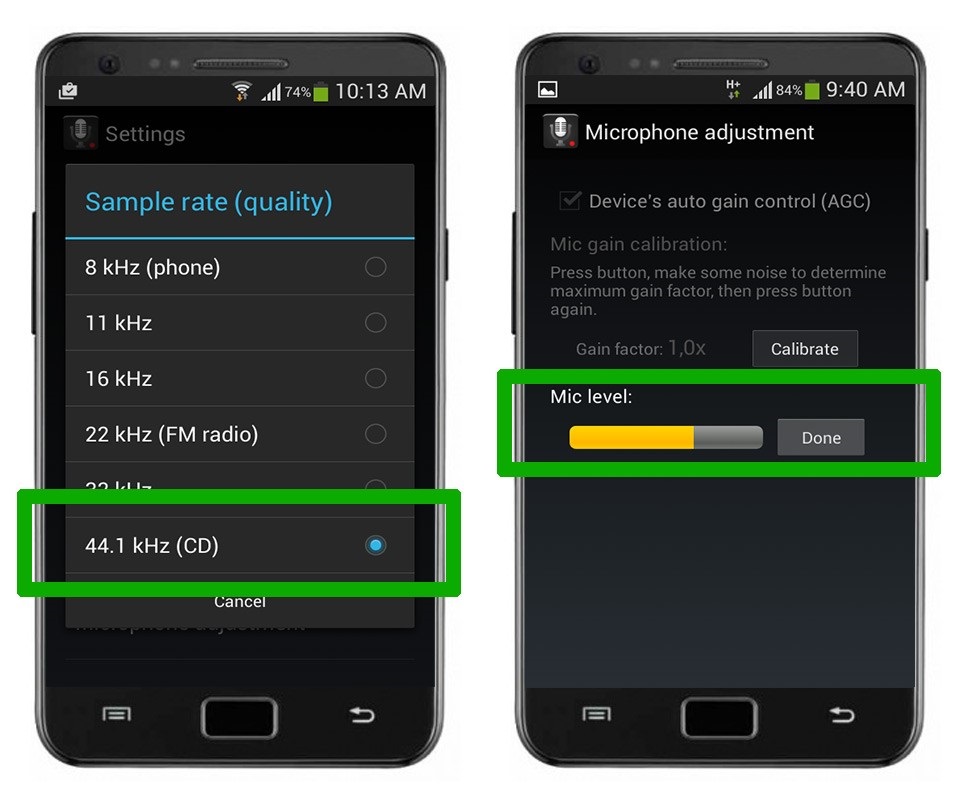
Some sound recording apps have settings you can use to improve the quality. This is not possible in the camera app.
Sample rate: Select Sample rate (quality). Select 44.1kHz (CD)
Microphone gain level. Position the phone around 4 inches (12-15cm) away from your mouth. Touch Test and sing into the bottom half of the phone (where the microphone is). The yellow level meter should never reach the highest point, as this will result in distortion. Try to keep it at around the level indicated above (two thirds of the maximum). If it’s too loud, move back slightly or sing softer. Advanced: You can also deselect Device’s auto gain control to Calibrate the loudness of your voice.
Multitrack recording on your Android- BandLab
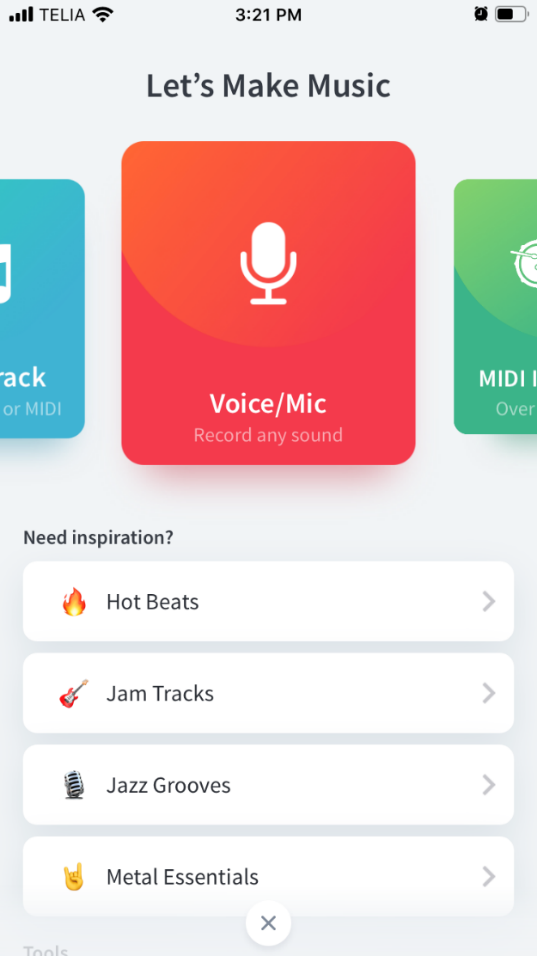
BandLab is both a DAW (Digital Audio Workstation) and community for music collaboration. DAW:s use multitrack recording which is the basis for mixing a song. Unlike many other DAW:s it’s free and works neatly on your smart phone.
By using the BandLab app you’ll be able to
- Playback the music while recording your vocals
- Play a click while recording your vocals
- Save both the clean vocals and the vocal mix.
More about BandLab recording is covered in a separate tutorial.
Multitrack recording on your iPhone: Garageband
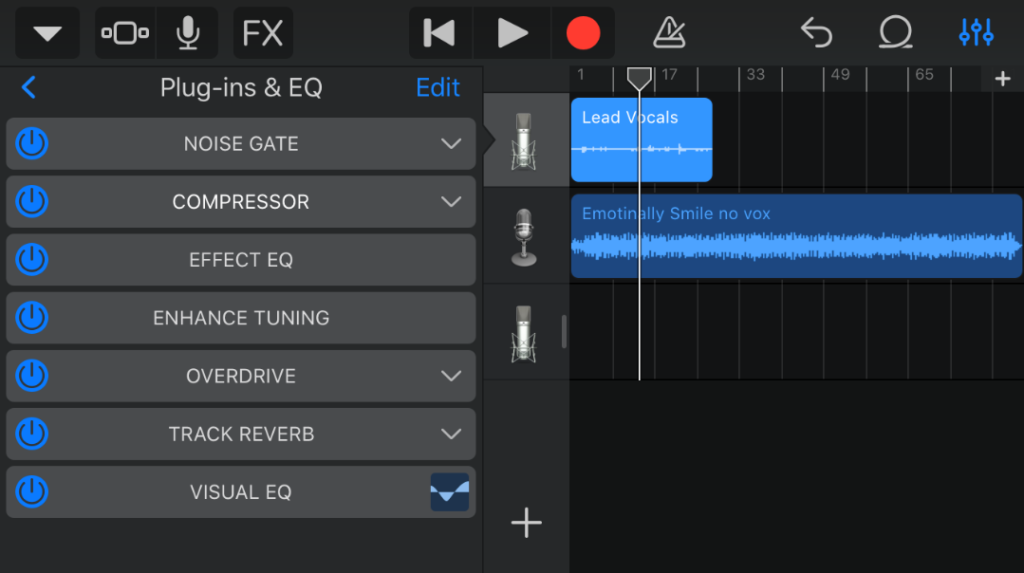
Garageband is the DAW (Digital Audio Workstation) that comes pre-installed on your Mac and can be installed free on your iPhone. DAW:s use multitrack recording which is the basis for mixing a song. Unlike many other DAW:s it’s free and works neatly on your smart phone.
By using the Garageband app you’ll be able to
- Playback the music while recording your vocals
- Play a click while recording your vocals
- Record with many presets already on so you can hear the effects instantly.
- Save both the clean vocals and the vocal mix.
More about BandLab recording is covered in a separate tutorial.
Microphones
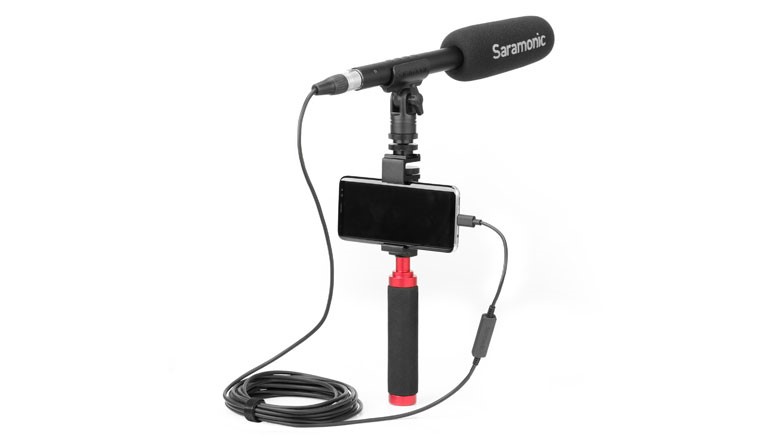
Adding an external microphone is the single most significant way to improve the quality of the sound your phone captures.
First, you need to choose one that will work with your phone. That means it must have a Lightning connector if you want to use it with an up-to-date iPhone, and it needs a USB-C port to work with most modern Android phones.
If you primarily plan to save the sound of a person singing, look for a directional microphone, sometimes called a shotgun mic. You can literally point this type of recorder at the audio source to pick out one pocket of sound.
If you only buy one device, buy a microphone…but you don’t have to stop there. Portable tripods can keep your phone steady out in the field. And any type of object—homemade or purchased—that blocks wind from hitting the mic will help.
More about microphones will be covered in a separate tutorial.
Next Steps – sound card and DAW
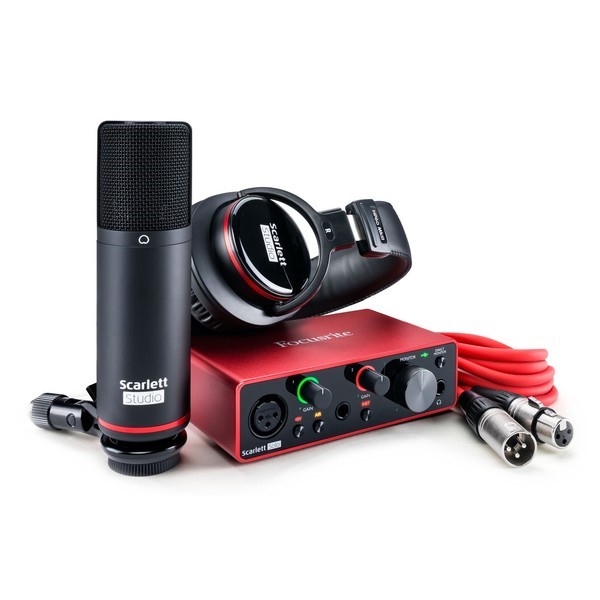
Once you get the hang of recording yourself and are confident in your abilities, you may want to start looking into producing a higher-quality music.
The easiest way to get a dramatic increase in your recorded music quality is to use an external condenser microphone for singing. They come with a “sound card”, a little box that you connect between the microphone and the phone or laptop. Most sound cards have several outtakes for mics or instrument so you can record several sources multi track and edit them on your DAW (music program).
More about Sound cards and DAW:s will be covered in a separate tutorial.
Download as eBook
